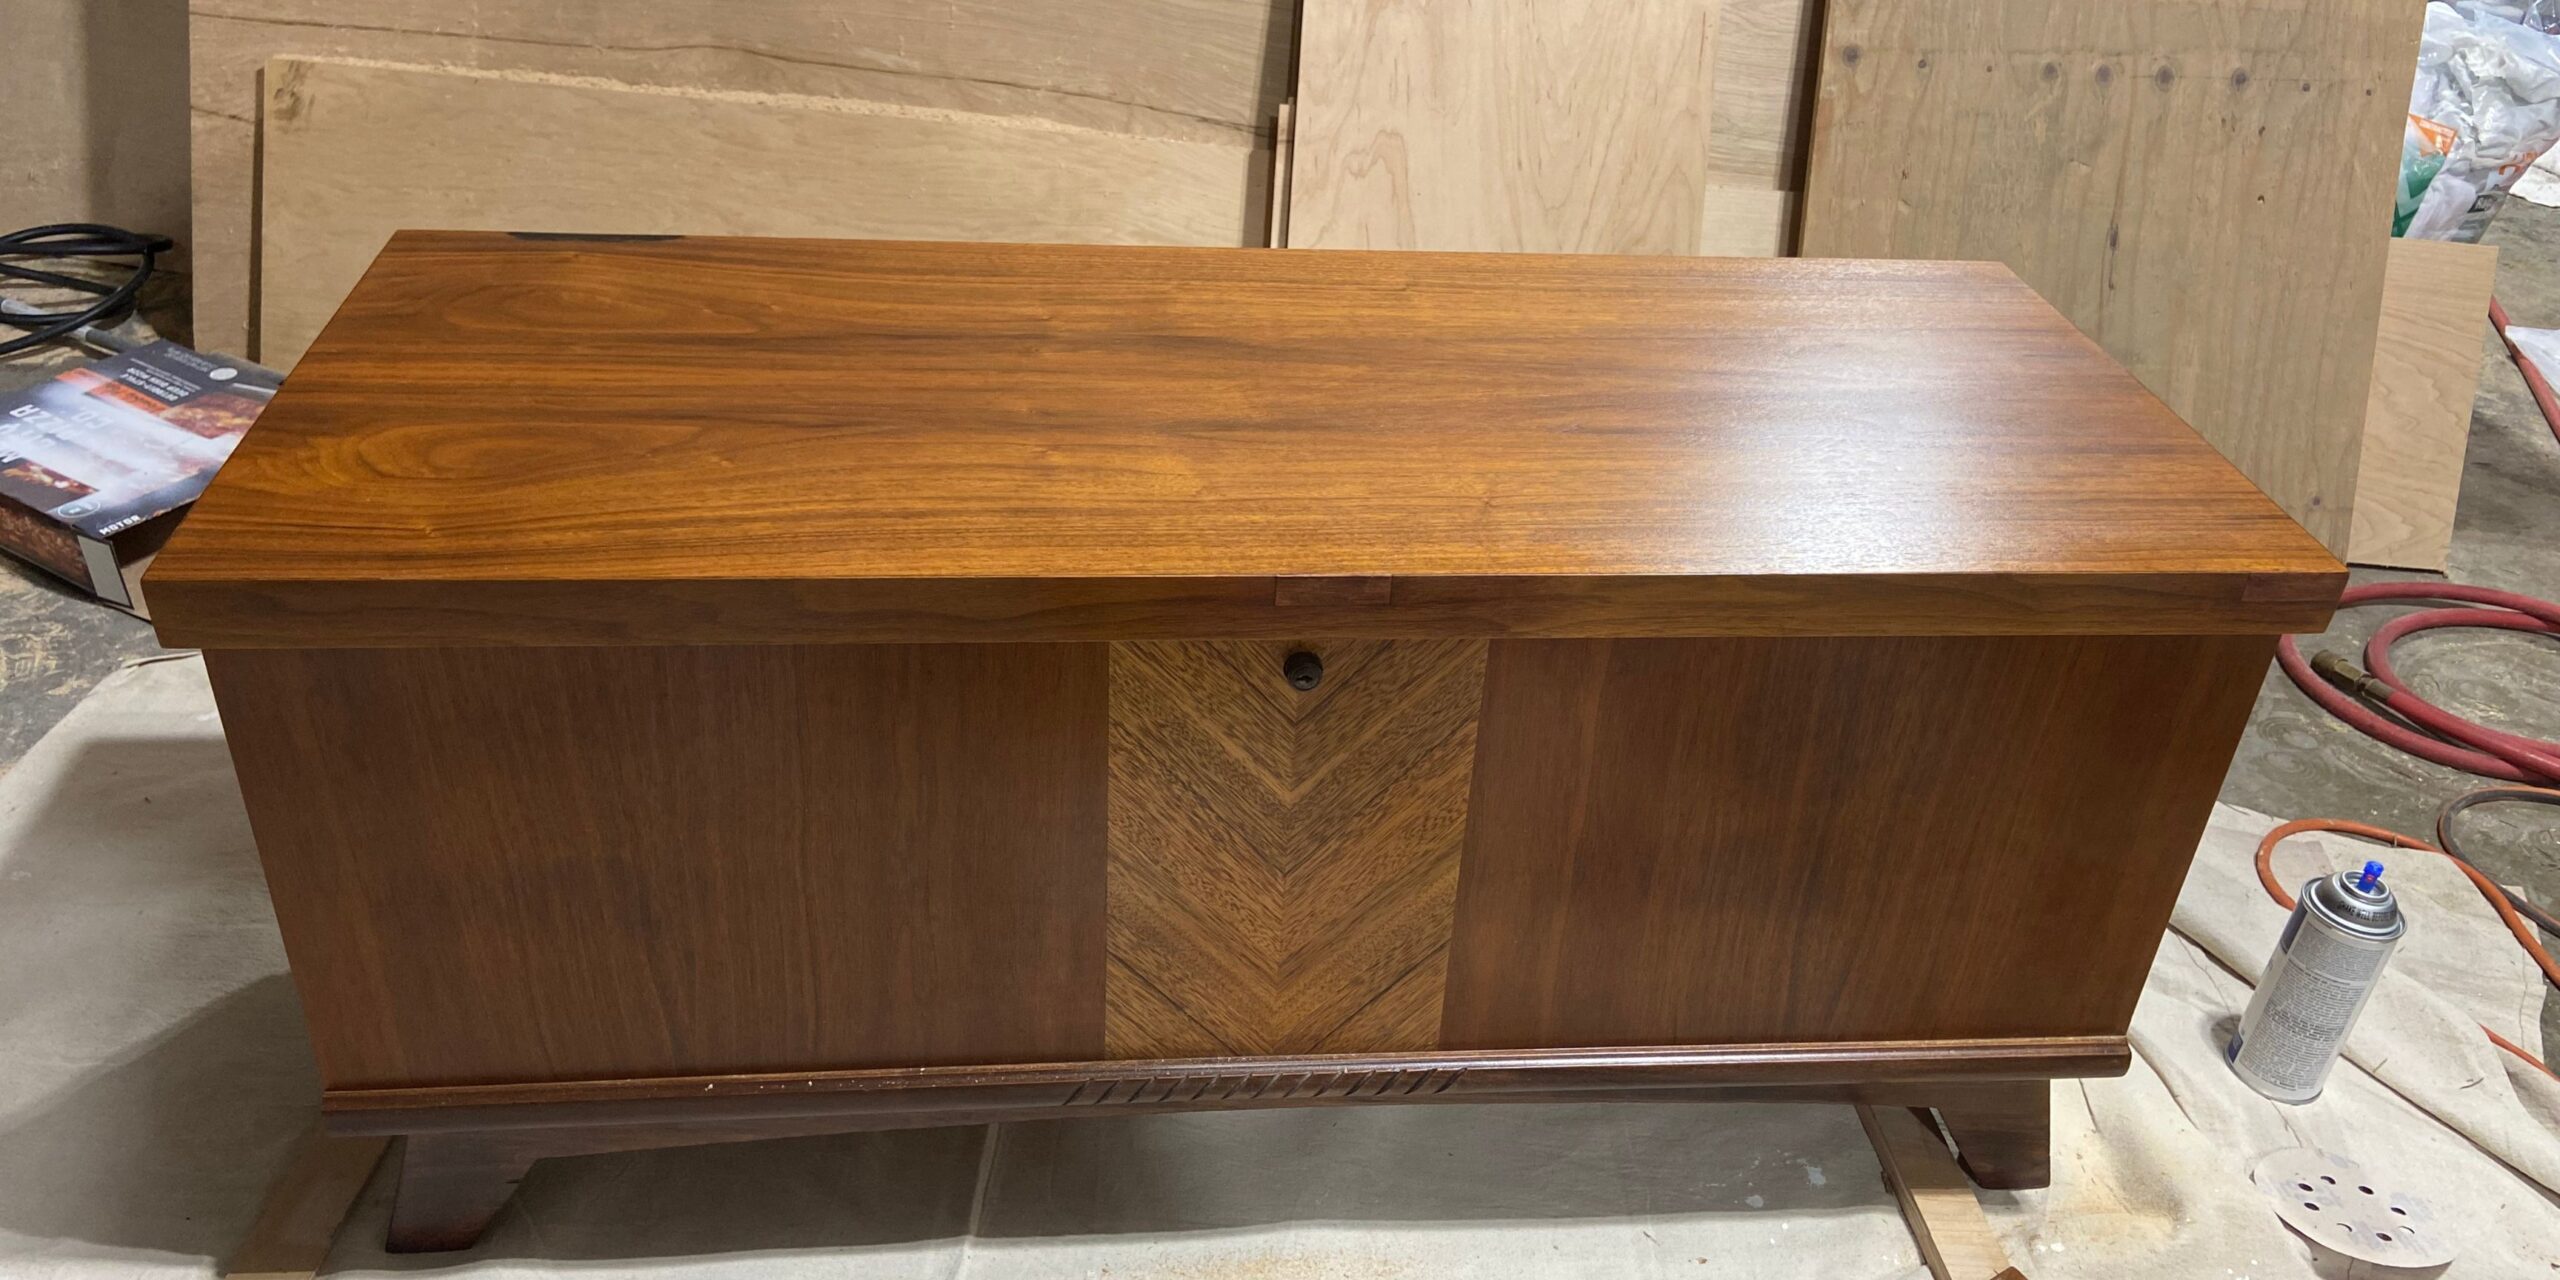
Refinish a wooden chest and breathe new life into a cherished piece. Follow these steps for a successful restoration:

Materials Needed:
- Nitrile gloves
- Safety glasses
- Klean-Strip Premium Stripper
- Klean-Strip Paint Stripper After Wash
- Plastic Scraper
- Sandpaper (varying grits)
- Wood stain or paint
- Paintbrushes or foam brushes
- Wood sealant or varnish
- Clean rags
- Drop cloth or cardboard
- Screwdriver (if hardware needs removal)
Steps to Refinish the Chest:
1. Prepare Your Workspace:
- First, choose a well-ventilated area and cover the floor with a drop cloth or cardboard. Ensure proper lighting for detailed work.
2. Remove Hardware (If Necessary):
- Use a screwdriver to remove any hardware such as handles or knobs. This ensures an even finish and protects the hardware. With a well prepared toolkit this should be a quick and easy step.
3. Strip the Surface:
Follow the instructions on the Klean-Strip Premium Stripper and apply the stripper, then scrape to remove all finish on the wooden chest. After all finish has been removed wipe the chest clean and then use the Klean-Strip Paint Strip After Wash to clean and prepare the wood for refinishing.

4. Sand the Surface:
- Sand with the grain of the wood to clean up any blemishes and prepare the wood for stain or paint. Be sure to sand thoroughly but without sanding too deep where veneers are present. Some veneers can be rather thin.
5. Clean the Chest:
- Wipe the chest with a clean, damp rag to remove dust and residue from sanding. Allow it to dry completely before proceeding.
6. Apply Stain or Paint:
- Choose a wood stain for a natural look or paint for a personalized touch. Apply even coats with a brush, following the wood grain. Allow each coat to dry before applying the next.
7. Add Additional Coats (Optional):
- Depending on the desired finish, apply additional coats of stain or paint. This enhances color depth and durability.
8. Seal the Wood:
- Once the stain or paint is completely dry, apply a wood sealant or varnish to protect the finish. Follow the product instructions for the best results.
9. Reattach Hardware:
- If you removed any hardware, reattach it once the sealant or varnish has dried. Ensure a secure and even attachment.
10. Final Inspection:
- Inspect the chest for any uneven areas or missed spots. Touch up as needed and let it dry completely.
11. Enjoy Your Refinished Wooden Chest:
- Once the chest is fully dried and cured, place it back in its original location. Admire the revived beauty of your refinished wooden chest.
Refinishing a wooden chest is a rewarding DIY project that preserves its charm while giving it a fresh and updated appearance.