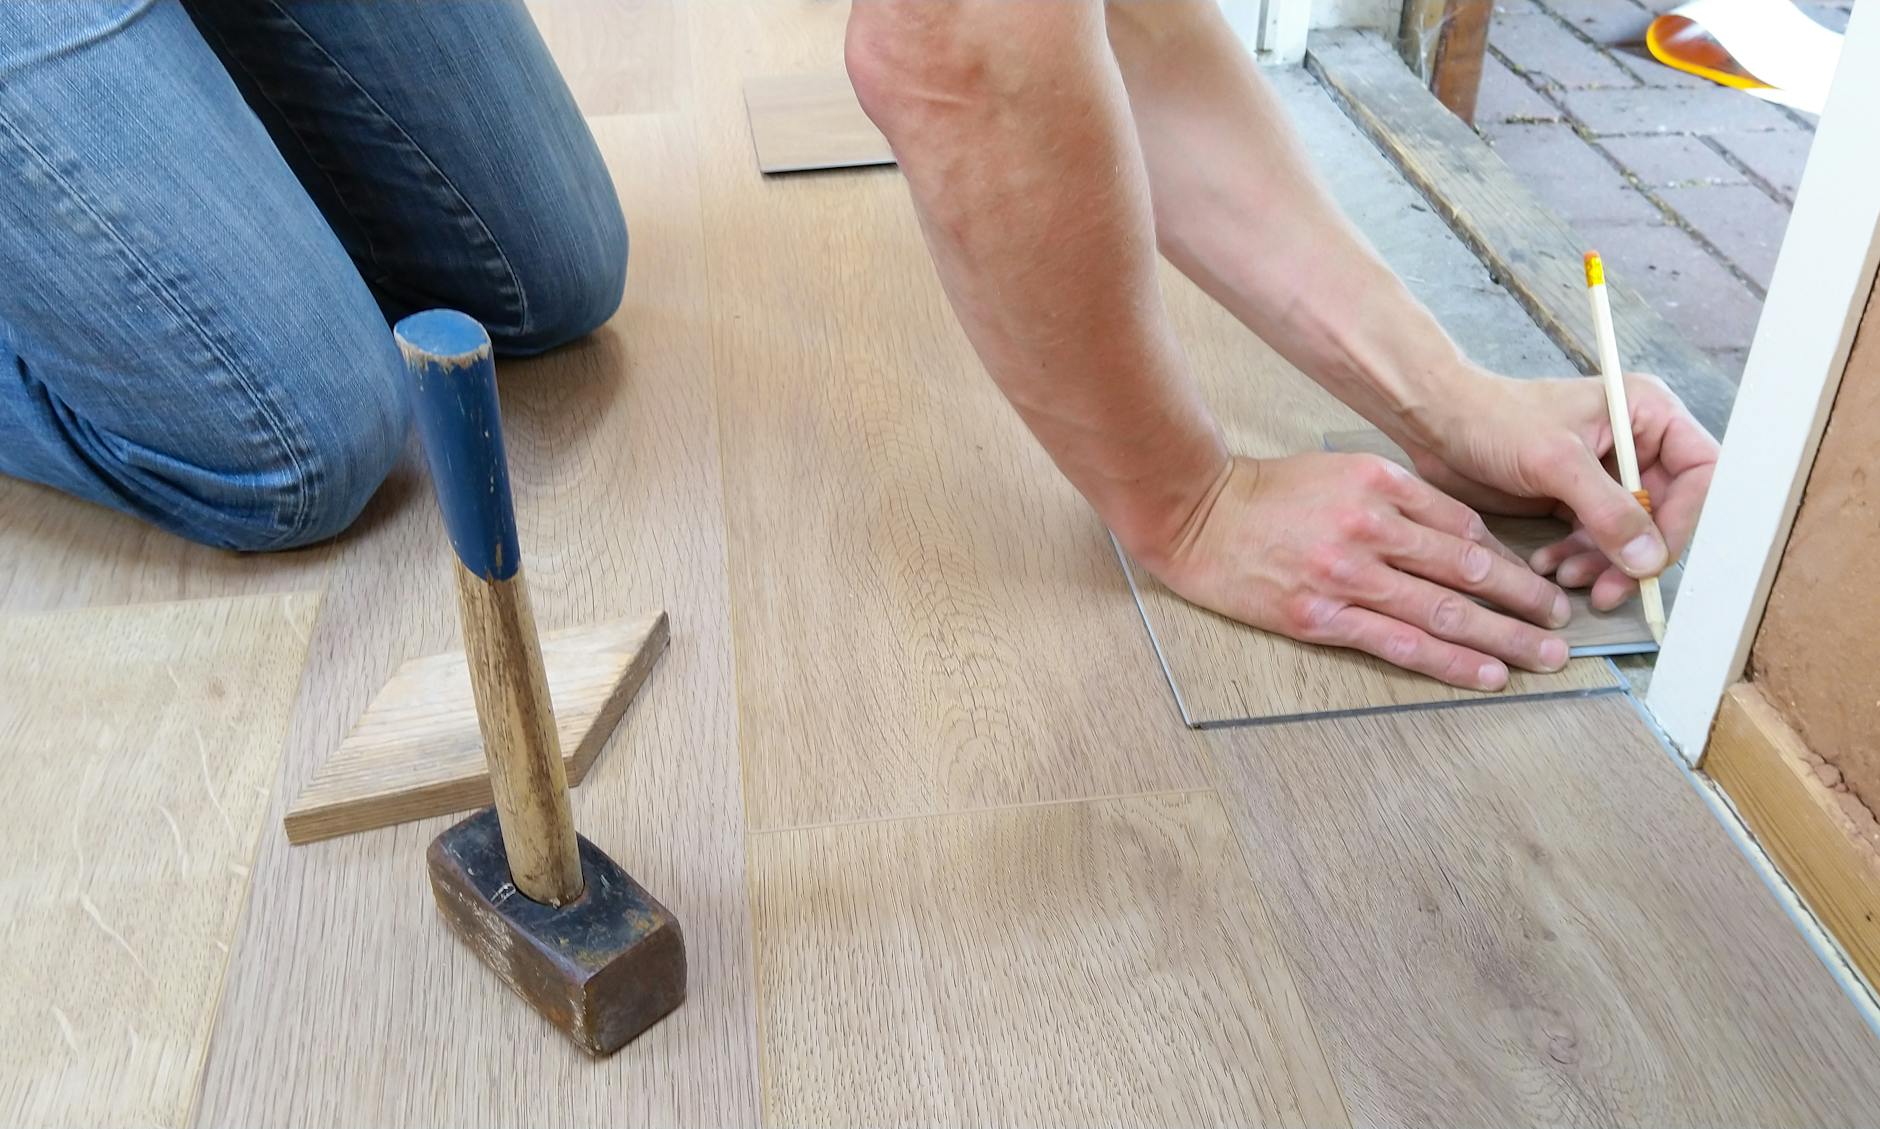
Learn how to install laminate flooring to transform your space. Laminate flooring offers a modern and durable surface that’s easy to clean and maintain. Whether you’re tackling a DIY project or hiring a professional, this guide will walk you through the steps to install beautiful laminate flooring during a home update.

Why Choose Laminate Plank Flooring?
Laminate flooring is a popular choice for homeowners due to its affordability, durability, and aesthetic appeal. It mimics the look of hardwood without the high cost and is resistant to scratches, stains, and moisture, making it ideal for high-traffic areas.
Tools and Materials You’ll Need
Every DIY project should start with a well stocked tool box. Here is our suggested starting toolbox setup.
- Laminate planks
- Underlayment (if not pre-attached to planks)
- Measuring tape
- Utility knife
- Pry bar
- Hammer
- Floor scraper
- Tapping block and pry bar
- Spacers
- Circular saw or jigsaw
- Vacuum or broom
- Safety gear (gloves, safety glasses)
Step-by-Step Instructions
1. Prepare the Room
- Remove all furniture and decorative items from the room.
- Take off baseboards and transition strips using a pry bar. Be careful not to damage them if you plan to reuse them.
- Check for any floor vents or obstacles and plan for installing around them.
2. Remove the Carpet
- Start by cutting the carpet into manageable sections using a utility knife.
- Pull up the carpet and padding, rolling them into sections for easy disposal.
- Remove any staples or tack strips using pliers or a pry bar.
3. Inspect and Prepare the Subfloor
- Clean the subfloor thoroughly to remove dust, debris, and adhesive residue.
- Check for any damage or uneven areas. Patch holes and sand down high spots to create a smooth surface, as an even subfloor is essential for preventing gaps, squeaks, or shifting in the laminate planks.
- Ensure the subfloor is dry and level, as unevenness can affect the performance of laminate flooring.
4. Install Underlayment
- If your laminate planks don’t have an attached underlayment, roll out and install a separate underlayment.
- Overlap edges slightly and tape them together to ensure full coverage.
5. Plan Your Layout
- Measure the room to determine the best layout for the planks.
- Start along the longest wall or a prominent feature to ensure a visually appealing result.
- Stagger the seams of the planks to create a natural look and enhance stability. This approach also prevents alignment of seams, which can make the flooring look less appealing and weaker over time.
6. Install the Laminate Planks
- Begin in a corner, placing spacers between the planks and the wall to maintain an expansion gap. This gap allows the flooring to expand and contract with changes in temperature and humidity, preventing buckling or warping over time.
- Connect planks by snapping them together, using a tapping block and pry bar for a snug fit. Double check to ensure planks are fully snapped together, and stagger the seams for a more natural and visually appealing finish.
- Cut the planks as needed to fit around obstacles or finish rows using a circular saw or jigsaw.
7. Finish the Installation
- Remove spacers and reinstall baseboards and transition strips.
- Seal gaps around the edges with silicone caulk if necessary.
- Clean the floor to remove any dust or debris from the installation process.
Tips for Success
- Allow the laminate planks to acclimate to the room’s temperature and humidity for 48 hours before installation.
- Always follow the manufacturer’s instructions for your specific flooring product.
- Use proper safety equipment when cutting or handling materials.
Conclusion
Replacing old flooring with laminate plank flooring is an excellent way to modernize your home while increasing its value and functionality. By following these steps, you can achieve a professional-looking result that will last for years to come. Whether you’re upgrading a single room or your entire home, laminate flooring is a stylish and practical choice.
Frequently Asked Questions (FAQs)
1. Can I install laminate flooring over the carpet? No, it is not recommended. Carpet can create an unstable base, leading to uneven flooring and potential damage.
2. How long does it take to replace carpet with laminate flooring? The timeline depends on the room size and your experience level. A standard room typically takes 1-2 days for DIY installation.
3. Do I need to remove baseboards before installing laminate? Removing baseboards ensures a cleaner finish, but you can also use quarter-round molding to cover gaps if you prefer not to remove them.


